
From the last year of working with photographers on a one to one basis the area that seems to cause confusion more than any other is that of exposure and how to control it.
This may be because the first thing I ask a photographer to do when we start the session is to change the camera setting from that wonderfully comforting AUTO to the rather foreboding MANUAL setting. All of a sudden all the decisions are taken away from the camera and creative control is given to the photographer. This may seem scary at first but as I try to explain the camera in auto mode is rather like riding a bike along a straight road with stabilizers on, all very nice and pleasant and yes it may be enjoyable but it never gets above that, it leaves you wanting more. Manual mode however is the exact opposite, more like a twisting downhill mountain bike ride through trees and over rocks, dangerous but the ultimate thrill ride.
So, what is this mystical magic that we now have to deal with, well there are only three ingredients and how much of each we use will effect the overall look of the end result. Firstly lets look at each individually and discuss what they do.
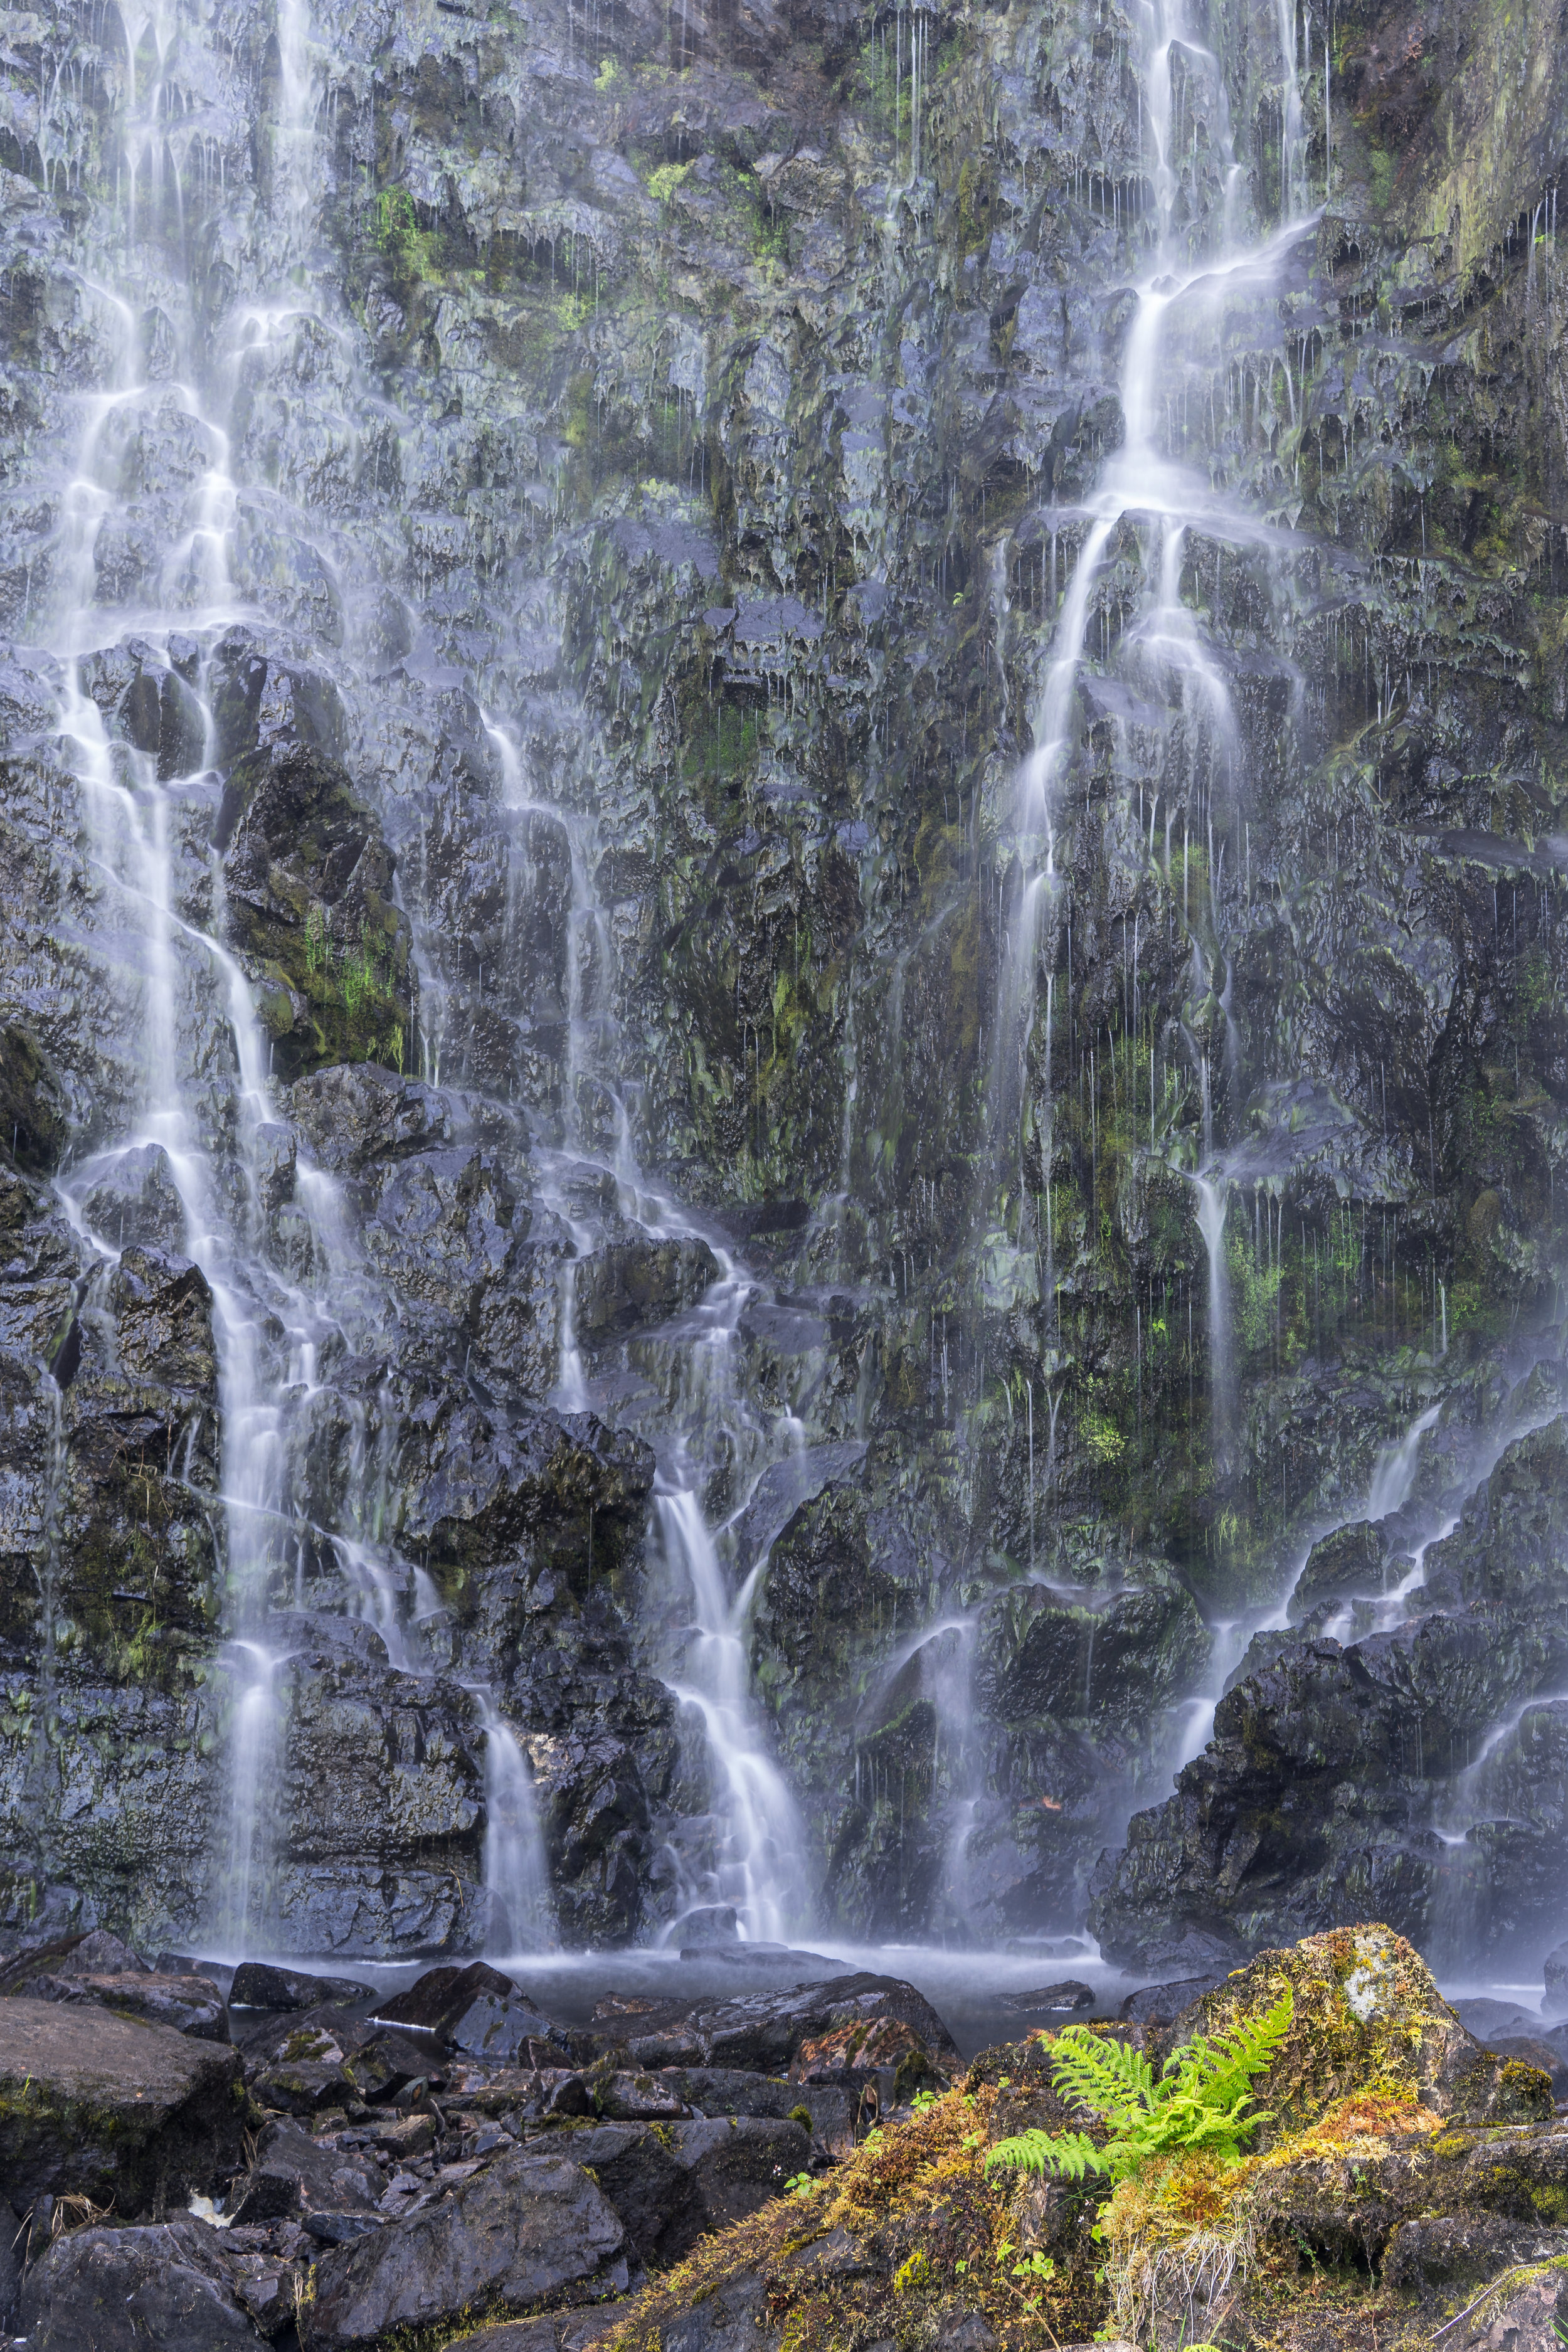
Slow Shutter Speed
Here a slow shutter speed has been used to purposely blur the water to give a milky effect
Shutter Speed Self explanatory really but this is how long the cameras shutter remains open. I like to think of the shutter as curtains overa window. If you open the curtains and shut them again very quickly only a small amount of light will enter the room beyond, do the opposite and keep the curtains open for a couple of seconds and much more light enters the room. So on a camera a shutter speed of 1/1000th of a second would let in very little light while a shutter speed of 1/10th of a second lets in much more light. In manual this is now one of the weapons we have at our disposal to create our images.
Aperture To explain aperture to photographers I tend to use a variation of the same analogy. This time I try to get them to think of two windows into an empty room. If the window is tiny then only a small amount of light can enter, yet if the window is large a vast amount of light will enter the room. You may now be able to see how this can link and work together with the shutter speed above. On a camera, and confusing for photographers, an aperture of F4 is a very large window letting in lots of light, while an aperture of F16 is a tiny window and lets in very little light. As I say confusing because the bigger number equates to the smaller window! With me so far?
I.S.O. Now I suppose this is the one that photographers can have the hardest time understanding. Older photographers may have an advantage here because ISO relates back to the old film camera days (remember those?). When film was the medium used it would come in different sensitivities. Someone going away on holiday in the 1980's would probably have purchased film with 24 shots and ISO 125 or 200. This number relates to the sensitivity of the roll of film. So back in 1984 if I shot one image at Shutter speed 1/200sec, Aperture F11 and ISO 125 and then another straight after Shutter Speed 1/200sec, Aperture F11 and ISO 200. (Don't forget in 1984 I would have had to change film or have two cameras to do this). The image in shot number one would be darker than shot number two simply because the film in image two was more sensitive to the identical amount of light entering the camera.
Today nothing has changed. You can change the ISO in your camera settings and this does exactly the same thing. Your cameras sensor has replaced the film and lucky for us the sensor can be sensitive to multiple different ISO's at the touch of a button. So unlike film you do not need to remove the camera's sensor when changing ISO.

Large Aperture
Shooting at F4 keeps the girl in focus but blurs the foreground and background to make her stand out.
Ok, they are the three settings we need to adjust to in our triangle of exposure. Now we need to explore why we would bother to mess around with them at all? Simply put if these three ingredients where in a cake varying the amounts of any of these would vastly effect the taste of the cake. And each of these ingredients effects your image in a different way. Lets take a look at each and what its effect on an image can be.

Night Shot ISO 2500
Shooting in the dark and using a high ISO to gather the small amount of light available from the stars
Shutter Speed in its simplest form the right or wrong shutter speed can mean the difference between a blurred and sharp image. As an example you are at a cycle race and as the riders come by you want to get a sharp shot as they pass you. At a shutter speed of 1/10th of a second the shutter is open to let in lots of light, however in 1/10th of a second the riders will have moved in front of your camera lens. If the camera was hand held then it may well have picked up your movement resulting in a blurred image. If we use a shutter speed of 1/400sec the riders will not have moved in such a short period of time and it would also prevent your movement showing up in the final image. Obviously this also has creative implications as you may want to use a slow shutter speed and pan the camera to give that impression of speed. Suffice to say I will cover that in another article.
Aperture The effects of varying apertures in photography are again fairly easy to understand. This may be another photography term you have heard "Depth of Field". All this means is the amount of the image from the foreground to the background that is in sharp focus. Landscape photographer in particular like to use settings of around F11 (small aperture, letting in very little light). The effect if this is to give a foreground and background in focus. So an image of a mountain with a lake in front of it and a rock on the bank nearest the camera should all be in focus if we focus the camera a third of the way into the picture. However if you shot the same image and again focussed a third of the way in but at F4. The rock and the mountain would be out of focus. This is an easy one to try yourself. On a table place objects close to the camera and then further away on a diagonal so you can capture all the objects in one shot. Now focus on an object a third of the way in and try different apertures. See what I mean? Creatively this is also a useful tool. Portrait photographers love to have a subject in sharp focus but with a gorgeously out of focus background to isolate there subjects and make them stand out. Again this will be looked into further in later articles.
ISO Differing the ISO setting of your camera basically increases or decreases the cameras sensors sensitivity to the light entering the camera. As an example this would be a useful tool if you where shooting a sporting event inside where light levels may not be the best. As discussed above you are likely to want a high shutter speed to freeze the action, but as we know this will decrease the amount of light, not what we want in an already dark environment. We can open the aperture wide but this may not be enough. Incidentally this is why professional sport photographers can often be seen with huge lenses both in length but also width. The width is obviously that (BIG WINDOW) to let in the maximum amount of light. As you can imagine with a normal set up the size of the aperture may not be enough wide open to let in enough light. It is then that you can look to increase the ISO (sensitivity of your sensor) to light. ISO 800 as an example may be used. One thing to note is that much like film increasing the ISO does increase the grain size of the image or the dots that an image is made up of will be bigger the higher the ISO. You will often hear photographers talk about "Noise" in an image and this can be due to increasing the ISO. Again this has creative implications which will be discussed in further blog articles.
I hope this short explanation has helped your understanding of the triangle of exposure and how we can manipulate each element to get a correctly exposed image and use it creatively to tell the story we want to tell. Please let me know if you find this type of blog article useful and if there are any other areas of photography you would like me to explore. You can leave me a comment or contact me via the contact page, and if you want to progress your own photography why not join me on a one to one basis for a days tuition? More details can be found by clicking the button below. See you soon.